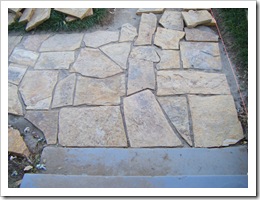
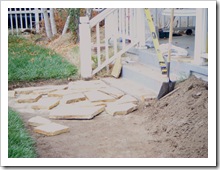
 Well, I’ve complete two of the three walkways entrances: the first being the entry at the steps of the front-porch – since it’s the one everyone will see when entering or exiting the house. You can see the finished product to the left, all properly padded with sand and tamped into place. No mortar used here, just dry sand.
The top-most portion is incomplete as it heads out to the Sidewalk. It flows to the left of the picture heading out to the Driveway. I’ll install some edging when I’m done in order to hold the stones in place and keep the grass from creeping in between the stones. On that topic, Jana and I have a plan to follow up after the project is completed and excavate out a little of the sand in order to insert some topsoil, so that we can plant some thyme or mint between the stones. However, I suspect some settling will occur between now and then, so think that the level of the sand to go down naturally.
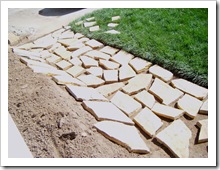
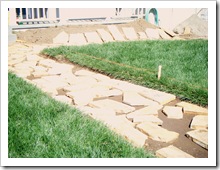
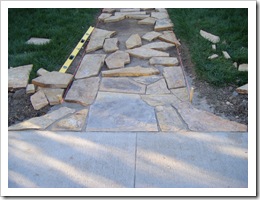 The second was the entry from the Sidewalk, owing to the fact that I wanted to make sure the “curb appeal†aspect had a higher priority than the driveway entry. I also gave the sidewalk entry the single biggest flagstone, as you can see in the picture to the right. I think it works well to “anchor†the entryway.
The third walkway entrance (coming from the driveway) will be started tomorrow after work, – if the weather permits.
I’d say that I’m roughly about two–sevenths the way through the final portion of the project. This is the part where I have to fine-tune the fitting of neighboring stones. It is certainly taking a lot longer to do than I had originally thought, especially with all the interruptions in the schedule. At my current rate, I’m averaging about six to ten stones per day on daily (after-work) basis. Weekends allow much more time, but then I also spend a great deal of time with Ryan when he’s here, so that can be a bit of a limitation.
Unfortunately, we won’t have Ryan next weekend, so the silver lining is that I should be able to put a good 2 solid days in that weekend. Sigh…
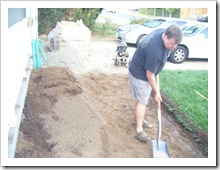
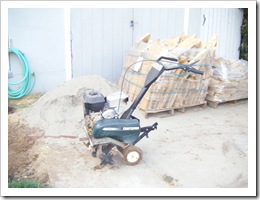
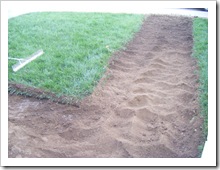 I started off by taking an pairing-edger to the entire perimeter of the walkway to establish a clean border, then I began rototilling the area (thankfully I had the foresight to water the area down over the preceding two days). Also, I had established a firm layer of crushed rock along the eventual pathway more than two years when I first began this project. Back then, I was only able to install the sod and sprinkler system, since we ended-up halting the purchase of flagstones materials in order to cover the legal costs associated with trying to retain primary custody of Ryan.